Monday, 29 December 2014

Soft green eye look

Soft green eye look - Makeup-Pixi3

Soft green eye look - looking down

Soft green eye look - straight on

I promise you there's no filters on this - it's just a very low f-stop on the camera and some over-exposure :)
Close up of the look
Maybelline smoky cinnamon quad
Urban Decay Vice 2 palette
So I've been at it again creating another look - this is actually a bit of a go-to look for me which is why I thought I'd share it.  It's what I'd consider to be a very wearable green look.  There's 2 reasons I think it's super wearable, firstly because the liquid liner is only on the eye lid and not under the eye, and because it's not too dark in colour.  Once again, as with any look you do, or I do, it's all about blending, and adding little bits of colour and building on it.

Here's what I used:

Urban Decay Vice 2 palette, Maybelline quad in Spiced Cinnamon, Makeup Revolution kohl* & flick liner, Revlon bold lacquer mascara, Urban Decay primer potion in eden, and Benefit Browzings & Gimme Brow.

Here's how I used it:

After you've filled in your brows, prime your lid with your eye shadow primer (for me, this was the UD primer potion in eden).  

Then take the Maybelline Smoky Cinnamon quad, and apply the lime green colour to the inner third of the lid by patting it on.  Then, go to the Vice 2 palette and the shade 'Stash' it's a mossy green colour that's quite flakey.  Pat this on the rest of the lid.  Then take a clean blending brush and blend it all in including the edges.

Once you've done that, go back to the Maybelline quad and go to the dark green shade with a fluffy blending brush (I used the one in the Vice 2 palette) and blend it through the crease and outer V. Once you've done that, take the cinnamon shade in the Maybelline quad, and blend a small amount on the outer edge of the green (like in my pic) just to give the look at little warmth.

I then took the dark green from the Maybelline quad and blended it under the waterline. Added some kohl liner to my waterline, liquid liner to the base of my lashes with a cat-eye flick and 2 coats of mascara.  Oh and before I forget, I added a highlight just under the brow bone, this was the shade 'Dope' from the Vice 2 palette.

The rest:
On the rest of the face I used...

Neve face primer*
Makeup Forever HD foundation
Makeup Revolution anti-shine balm*
Makeup Revolution the One fluid blusher in 'Desire'*

So there you have it! Don't forget to keep checking back for more looks, I'm going to try to create and upload a look every week if I can, maybe more often (depends on how much time I get to do it with the baby).  I hope you've enjoyed this look, feel free to request some below in the comments :)  It's a lovely break from writing reviews :)

SHARE:

Monday, 22 December 2014

Purple eyes NYE look

Purple eyes NYE look

Purple eyes close up looking down

Purple eyes, eyes closed

Purple eyes head on

Purple eyes slight angle

Close up of purple eyes from the side

Products used - Urban Decay Vice 2 palette and Makeup Revolution Give them nightmares palette

At the weekend I was feeling all inspired after donning some purple clothes (my favourite colour) and thought I'd create a purple transition look for you.  Now, sometimes I'd be brave and wear this as a day look, but in reality it's more of a NYE look (for me).  If you wanted to jazz it up a bit more, you could press a little glitter on the centre of your lid to make it pop, or use a glitter liner like the Urban Decay heavy metal liners and go for a double liner look :)

Here's what I used and how I used it:

Prime - I primed my eyelids with the Urban Decay Eden primer potion - I used this one as I have a lot of redness and blueness around my eyes at the moment due to the lack of sleep, and this evens it out creating a nice base for the shadow.

Brows - I used the Benefit Browzings( and Gimme Brow( to shape and define my brows, to frame the look.

The shadow - I started with the pink shimmery shade called 'coax' from the Urban Decay Vice 2 palette (any similar shade will do) and patted that on the inner third of my eye.  Then I dabbed Betrayal on the middle of the lid (from the same palette) pulling it to the edge of the lid.  Then I worked through the glittery black shade 'Lovesick' through the crease, focussing on the outer edge to make it smoky.  Next up from the Makeup Revolution 'Give them Nightmares' palette*, I opted for the dark purple shade (pictured above with a heart on it) and dabbed that on the outer third of the lid.

Once that was all in place, I took a blending brush and blended it all in, adding extra colour for depth where needed.  I also took these 3 shades under the eye in the exact same order.

Liner - I used the Makeup Revolution Kohl & Flick liner* - the kohl on the waterline, and the liquid liner for the rest, creating a cat eye flick.  To finish this off and take the edge off the sharpness, go back to the sparkly black shade in the Vice 2 palette 'Lovesick' (honestly, every time I write that word, I go to write Lovestick - something very different, lol) and blend it in on the liner with a small but fluffy brush.

Mascara - I've used the Makeup Revolution Viper* mascara here, as much as it may not be the best mascara, after a couple of coats you can create some very pretty fluttery eye lashes, my only issue is that I make the liner so thick that you don't really see my lashes anyway - this is perhaps where falsies would be better, especially for a NYE look :)

Tip - when creating this look less eye shadow is more, it's much easier to add more shadow to the look if needed than take away, and blend, blend, blend!

What do you think of this look? Would you wear it?  What colour look would you like me to do next? Green? Blue?

SHARE:

Saturday, 25 August 2012

Get Ready with Me #2

Hey guys - I know this is a bit cheeky, putting a video on my blog, but I thought you might enjoy it :)  It's another get ready with me video, so a sort of tutorial - I really enjoy doing these, the narration is my favourite bit, I can be a bit silly :p  Anyway, here it is, hope you like it :)


Pixi3 out
xXx
SHARE:

Tuesday, 21 August 2012

Get ready with me

Hey guys - double post day!  And, re-post day!  I just deleted this the first time, it didn't work, bah! I know this is lazy, but I wanted to put it on here for you in case you don't follow me on YouTube :)
Pixi3 out
xXx
SHARE:

Friday, 17 August 2012

Golden Brown Summer/Autumn look

Hey guys - keeping up with the theme of tutorials for you, I photographed my eyeshadow process today for you - it's not a million miles away from my previous one, but this is more golden, mmmmm pretty gold! :)


After sorting out the rest of your face with the usual (foundation, BB Cream, Primer etc) begin the eyes!  For this look, I used my custom Inglot palette- they didn't come with the names on, and the lady at inglot got rid of all the packaging, so I'm really sorry but I don't have the names - I'll just call them 1, 2 and 3 :) (if you're in the USA - Inglot can be found here)


--------xXx--------

So start off by putting shade 1 all over your lid (but not up to your eyebrow), try not to put it on too heavily.


--------xXx--------

Next, take shade 3 and apply it on the outer half of your lid, up to the crease and blend across.


--------xXx--------

Then, take a small shader brush and pick up some of shade 2 on the tip, pushing it into your crease, but focussed on the outer side and then down to your outer tear duct.


--------xXx--------

Then take a clean blending brush and blend all the edges.  Once you've done that, add which ever liner you want, I added Maybelline master drama Kohl eyeliner to the waterline, and the Chanel liquid eyeliner to the top. 


Finish off by adding blusher, highlight and whatever colour lip you like - for my lips I added an Elf Lip Stain in Pink Petal, and on the cheeks I used the Sleek blush and contour trio.

All finished :)

I hope you enjoyed this tutorial - please comment below with ideas and requests of different looks you'd like me to do - I'm sorry I don't have a better camera, but I plan to hopefully get one for Christmas :)

Pixi3 out
xXx
SHARE:

Tuesday, 14 August 2012

Tutorial - everyday look

Hey everyone!  So, what I have spent 4 hours doing today I hear you ask?  Doing a tutorial for you lovely people :D  This is my every day look and it generally takes me about 20-30 mins each morning - of course I do change up the colours, but this is the entire routine, as opposed to just the eye shadow look - I'll be doing more of these, but just the eyeshadow look.  For now, enjoy the full routine :D

Oh and I'm not naked in these pics, I have a vest top on :)  Step by step guide under each pic :)


So - here's a quick summary of each step (there will be one under each pic)  :)
Step 1 - Get all your makeup together that you're going to use and moisturise
Step 2 - For this I use Ginvera BB Cream - dot it on the face
Step 3 - apply it on your face concentrating on the front/middle and working outwards.
Step 4 - Put your primer on your lids (I use UD primer potion) - then wait for it to dry :)
Step 5 - Dot your concealer under the eyes and on troubled areas and blend


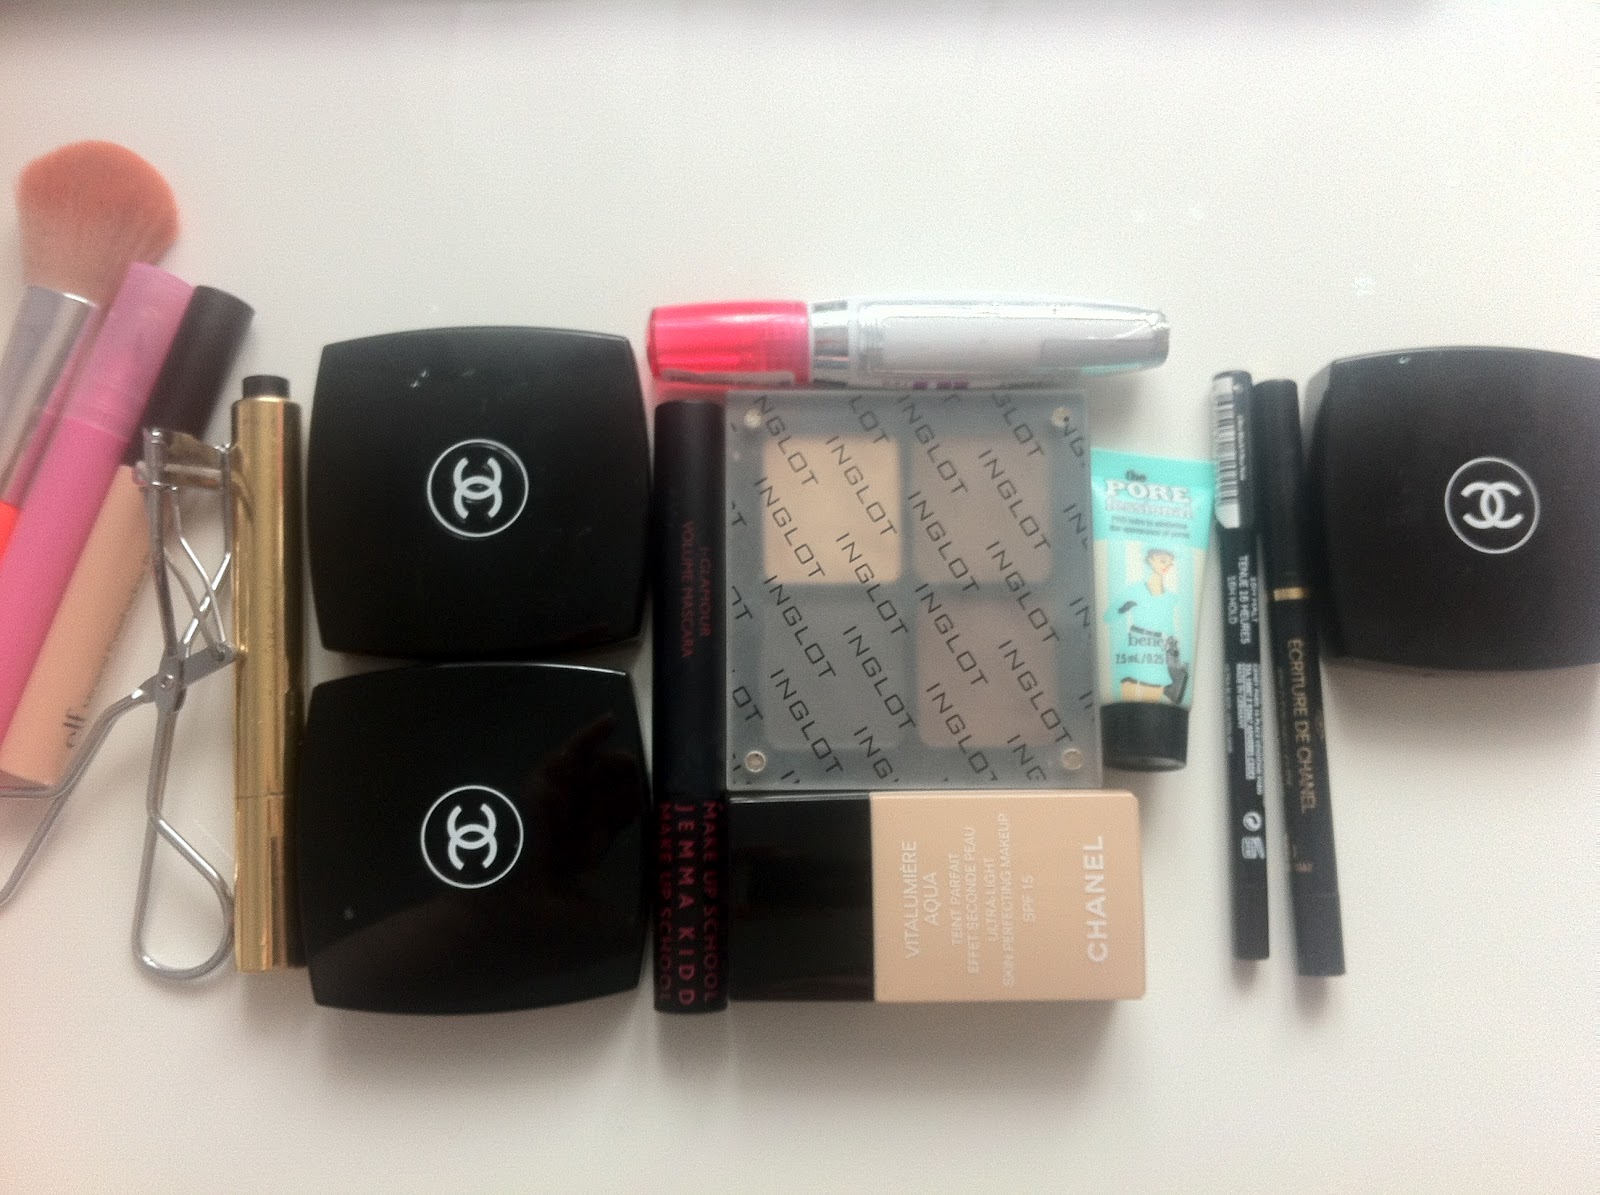
Step 6 - Eyebrows - for this I use the Chanel eyebrow palette in Brun and apply evenly
Step 7 - Take shade 4 from the MUA Undressed palette and apply over the lid up to the top of the crease
Step 8 - Take shade 8, press it onto the outer half of the lid up to the crease and blend
Step 9 - Take a small shader brush and on the end dip shade 11, apply it to the outer corner and into the crease and blend
Step 10 - Blend, blend, blend!!!


Step 11 - Take a fluffy blending brush and blend the edges to get rid of harsh lines
Step 12 - Take your Kohl eyeliner and apply to your waterline
Step 13 - Take a clean fluffy brush, for this I use the shimmery colour from my Chanel Eclosion quad and apply to the brow bone.
Step 14 - Using a liquid eyeliner (I used a Chanel one), start in the centre of your eye and work out, winging it at the edge.
Step 15 - Take any light shimmery colour and apply under the eye and along under the wing
Step 16 - blend that all in


Step 17 - Grab your bronzer, I used the MUA Bronzed Perfection - and contour with it down the hollows of the cheek and the temples
Step 18 - Take your blusher, I used the rose gold blush in the Sleek trio and apply to the apples of the cheeks and put some mascara on (I'm wearing Covergirl Lash blast)
Step 19 - Job done :)

EDIT: As requested a full face pic :)


Well guys - this was my first blog tutorial - I hope you liked it and could follow it ok?  I'd love some feedback on how you found this, any comments would be great :)  I have another tutorial lined up, they'll probably mostly be just eyeshadow after this, since now you know what I do every day :)

Pixi3 out
xXx
SHARE:
© Makeup-Pixi3. All rights reserved.
BLOGGER TEMPLATE DESIGNED BY pipdig