Sunday, 15 December 2013

X Factor hair with TRESemme

Welcome to my first ever hair tutorial!  I'm sorry I haven't been blogging every day this month, I've been busy knitting! I know that sounds like a bad excuse but I'm heading to Ireland for xmas and trying to make as many scarves for Christmas presents as possible, so I've needed to spend lots of time on that. Anyway, on with the tutorial (this was shot as a video, which I'll embed below).

This tutorial is for the side sweep as worn by Abi Alton in the X Factor.

Step 1
Wash your hair with the TRESemme pro shine wash shampoo* & conditioner* :)

Step 2
Dust your hair with heat protector spray, I'm using the TRESemme with keratin protector.

Step 3
Dry your hair with your hair dryer (randomly, my hair dryer is the TRESemme one too - bought this a couple years ago) :) 

Step 4
Sweep your hair to the side and separate your hair into sections to use your curling wand to create beautiful curls.

Step 5
Spray your hair brush with TRESemme lasting hold fixing spray and brush through your hair to loosen the curls and set in place.

Step 6
Your hair is now done, and just like Abi Alton from the X Factor :)  Depending on how long your hair is, you might need to pin your hair at the back to keep it in place, and if you're heading out, perhaps add some hair jewellery to sparkle things up.  If your hair doesn't hold a curl well, dust over your finished hair the lasing hold spray :)

Here's the video tutorial :D


This months Biggest-Pixi3 advertiser is the lovely Jess from Coffee & Cosmetics

 
SHARE:

Thursday, 27 June 2013

Nail art tutorial - Summer brights

If you follow me on twitter you might have seen that I've been keen to start doing some nail art tutorials.  Now, I'm by no means an expert at this - polka dots is about as far as my skills take me right now, but as I learn new ones I'll share them with you and we can learn together :)  So here goes my first  one!


Here are all the bits and bobs you'll need.  A good base & top coat (I'm using the OPI base coat, and an Essie 60 second top coat).  You'll need a bright base shade and an accent colour - pick whatever colours you prefer (this would look nice in reverse too).  You'll also need cotton pads & nail varnish remover to remove whatever varnish you're wearing right now, and finally you'll need a nail art tool (mine is from Avon and costs about £3).


Next, after applying your clear base coat, add 2 coats of your bright base, or enough coats for full coverage.


Then take the bright colour and the tool, dip the tool in the pot and dot the varnish in a central line down the nail - preferably with a bigger blob near the cuticle.


That's it, simple, all done :)


So there you have it, a simple nail art tutorial to begin with.  If you don't have a nail art tool, if you're careful you can use the corner of the brush of the accent colour, you may not get very round dots, but it's better than not doing it at all :)

Here's another polka dot picture for inspiration that I created last night too :)


This months Bigest-Pixi3 advertiser is the lovely Shang from The Feminine Crusade

 
Written by Georgina Kent
SHARE:

Monday, 27 August 2012

How to create a Favicon for your blog

Hey guys, something I've noticed recently is how many bloggers don't have their own Favicon.  What is a Favicon I hear you say?  It's the little square box in the tab of your browser - most bloggers or at least a lot have the default blogger Favicon.

Makeup-Pixi3 Favicon

Blogger Favicon

Now, personally I often keep a couple of blogs on tabs pinned so they're always at the ready for me to look at :)  And, when they're all the default blogger icon, they're impossible to tell apart ;)  So here's a guide to help you make one :)

Favicons

You'll need an image editing piece of software to make one, paint would be ok - personally I use Illustrator, but you can also do it with PicMonkey.  For the sake of this tutorial, I'll use PicMonkey, as everyone has free access to that.

So, first go into create a collage.


Next, click on the arrangement of squares on the left, and click the top selection 'Create your own'


Then, go to the bit at the bottom where you can put your sizes in, in the first number field type 50 and press enter.  Both numbers will change to 70, but that's fine.


Then, click on the artist palette on the left, and go to the top row where it says 'spacing'.  Move the slider all the way to 0.


When you've done that, you'll have a little square.  Change it using the colours on the left, to the colour you want as the background.  Hit Save at the top and give it a name :)


Go back to the main page of the site, and this time click on 'Edit a photo'.


Next, click on the 'P' on the left, pick the font you want and click 'Add Text', click on the text to change it (keep it to 2 letters at most, preferably one) and change it to the size that fits the square best :)


Then save it (.jpg is preferable, but .gif is fine too), give it a name and make a note of where you've saved it.


Then head to blogger, go to the 'Layout' tab and click on Edit on the Favicon.


Click on 'choose file' and locate your saved file.


Click on the file, hit ok and save it.  That's it done!  Click 'view blog' and your Favicon should show :)  If it doesn't, press F5 to refresh the page and it should be there then :)  Feel free to mess around and make tiny pics, you don't have to do it how I've suggested :)


That's it, done!!!!  Hope you've found this tutorial useful, let me know if you have any questions :)

Pixi3 out
xXx
SHARE:

Friday, 17 August 2012

Golden Brown Summer/Autumn look

Hey guys - keeping up with the theme of tutorials for you, I photographed my eyeshadow process today for you - it's not a million miles away from my previous one, but this is more golden, mmmmm pretty gold! :)


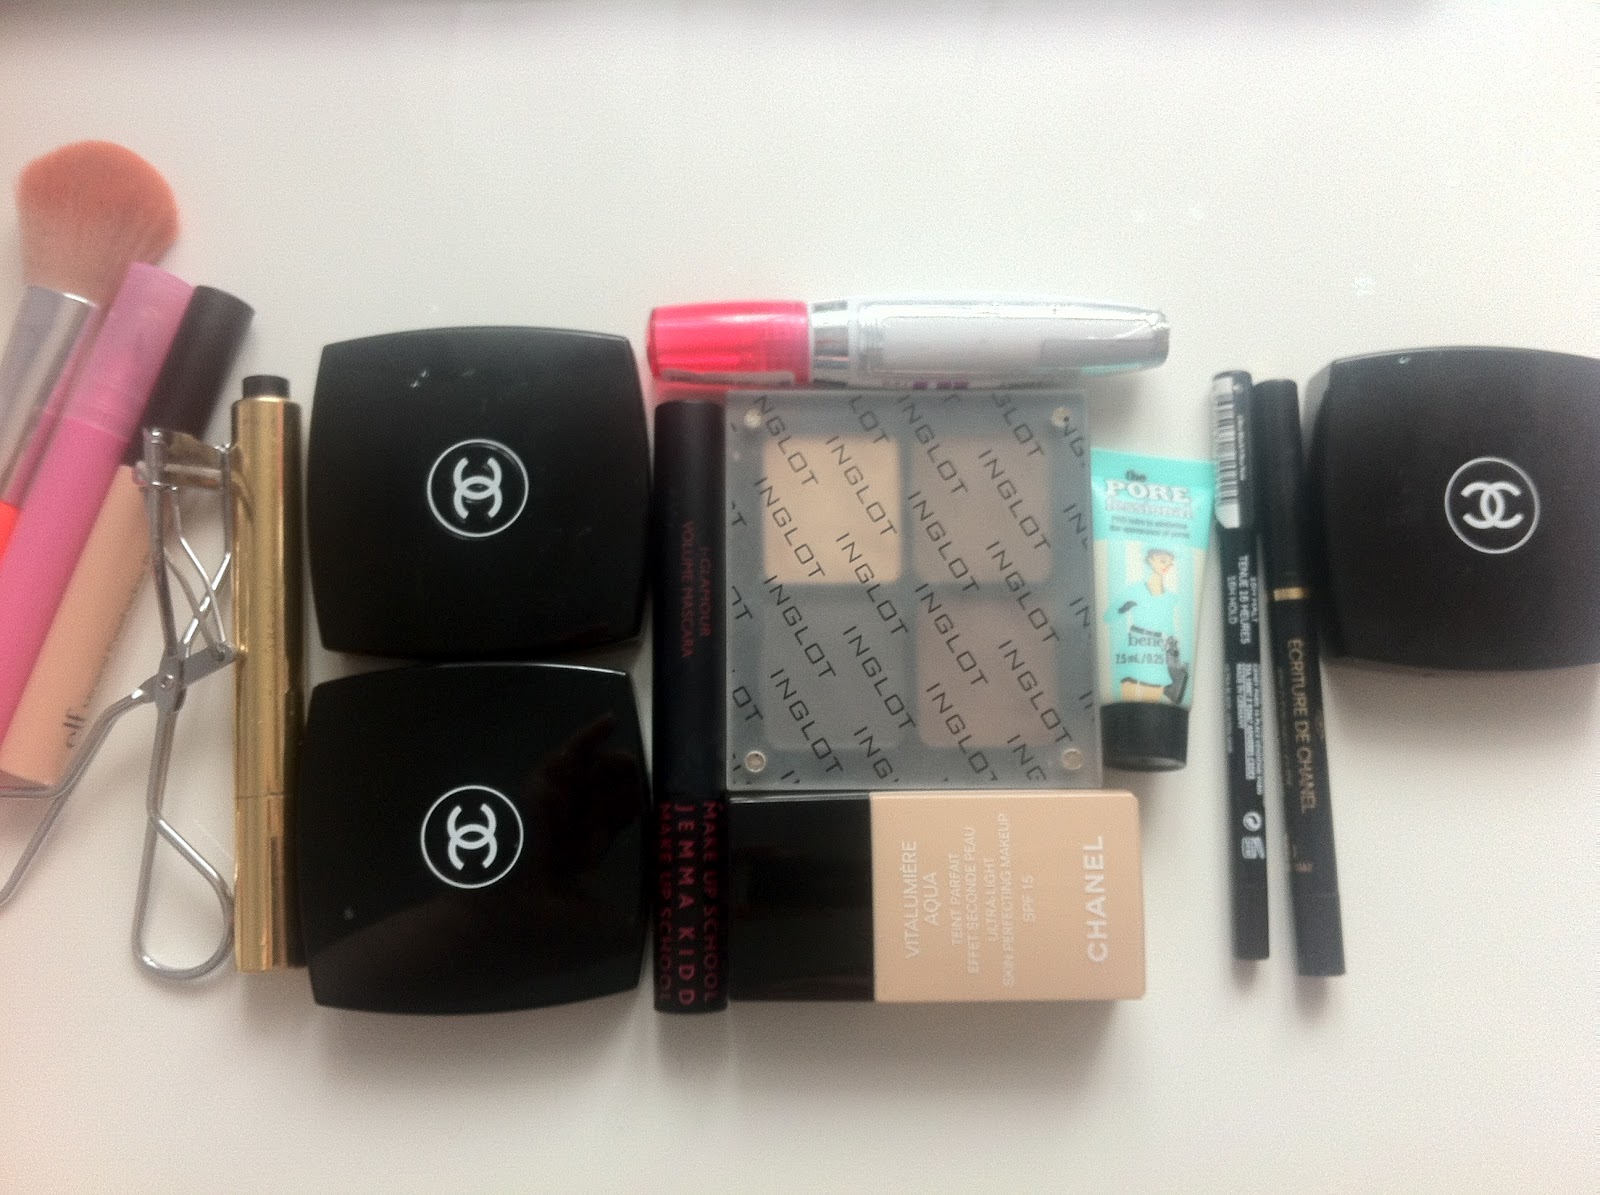
After sorting out the rest of your face with the usual (foundation, BB Cream, Primer etc) begin the eyes!  For this look, I used my custom Inglot palette- they didn't come with the names on, and the lady at inglot got rid of all the packaging, so I'm really sorry but I don't have the names - I'll just call them 1, 2 and 3 :) (if you're in the USA - Inglot can be found here)


--------xXx--------

So start off by putting shade 1 all over your lid (but not up to your eyebrow), try not to put it on too heavily.


--------xXx--------

Next, take shade 3 and apply it on the outer half of your lid, up to the crease and blend across.


--------xXx--------

Then, take a small shader brush and pick up some of shade 2 on the tip, pushing it into your crease, but focussed on the outer side and then down to your outer tear duct.


--------xXx--------

Then take a clean blending brush and blend all the edges.  Once you've done that, add which ever liner you want, I added Maybelline master drama Kohl eyeliner to the waterline, and the Chanel liquid eyeliner to the top. 


Finish off by adding blusher, highlight and whatever colour lip you like - for my lips I added an Elf Lip Stain in Pink Petal, and on the cheeks I used the Sleek blush and contour trio.

All finished :)

I hope you enjoyed this tutorial - please comment below with ideas and requests of different looks you'd like me to do - I'm sorry I don't have a better camera, but I plan to hopefully get one for Christmas :)

Pixi3 out
xXx
SHARE:

Tuesday, 14 August 2012

Tutorial - everyday look

Hey everyone!  So, what I have spent 4 hours doing today I hear you ask?  Doing a tutorial for you lovely people :D  This is my every day look and it generally takes me about 20-30 mins each morning - of course I do change up the colours, but this is the entire routine, as opposed to just the eye shadow look - I'll be doing more of these, but just the eyeshadow look.  For now, enjoy the full routine :D

Oh and I'm not naked in these pics, I have a vest top on :)  Step by step guide under each pic :)


So - here's a quick summary of each step (there will be one under each pic)  :)
Step 1 - Get all your makeup together that you're going to use and moisturise
Step 2 - For this I use Ginvera BB Cream - dot it on the face
Step 3 - apply it on your face concentrating on the front/middle and working outwards.
Step 4 - Put your primer on your lids (I use UD primer potion) - then wait for it to dry :)
Step 5 - Dot your concealer under the eyes and on troubled areas and blend


Step 6 - Eyebrows - for this I use the Chanel eyebrow palette in Brun and apply evenly
Step 7 - Take shade 4 from the MUA Undressed palette and apply over the lid up to the top of the crease
Step 8 - Take shade 8, press it onto the outer half of the lid up to the crease and blend
Step 9 - Take a small shader brush and on the end dip shade 11, apply it to the outer corner and into the crease and blend
Step 10 - Blend, blend, blend!!!


Step 11 - Take a fluffy blending brush and blend the edges to get rid of harsh lines
Step 12 - Take your Kohl eyeliner and apply to your waterline
Step 13 - Take a clean fluffy brush, for this I use the shimmery colour from my Chanel Eclosion quad and apply to the brow bone.
Step 14 - Using a liquid eyeliner (I used a Chanel one), start in the centre of your eye and work out, winging it at the edge.
Step 15 - Take any light shimmery colour and apply under the eye and along under the wing
Step 16 - blend that all in


Step 17 - Grab your bronzer, I used the MUA Bronzed Perfection - and contour with it down the hollows of the cheek and the temples
Step 18 - Take your blusher, I used the rose gold blush in the Sleek trio and apply to the apples of the cheeks and put some mascara on (I'm wearing Covergirl Lash blast)
Step 19 - Job done :)

EDIT: As requested a full face pic :)


Well guys - this was my first blog tutorial - I hope you liked it and could follow it ok?  I'd love some feedback on how you found this, any comments would be great :)  I have another tutorial lined up, they'll probably mostly be just eyeshadow after this, since now you know what I do every day :)

Pixi3 out
xXx
SHARE:
© Makeup-Pixi3. All rights reserved.
BLOGGER TEMPLATE DESIGNED BY pipdig